Building a Model Railroad – Part 11: Valance, some fascia and a bit of staging.

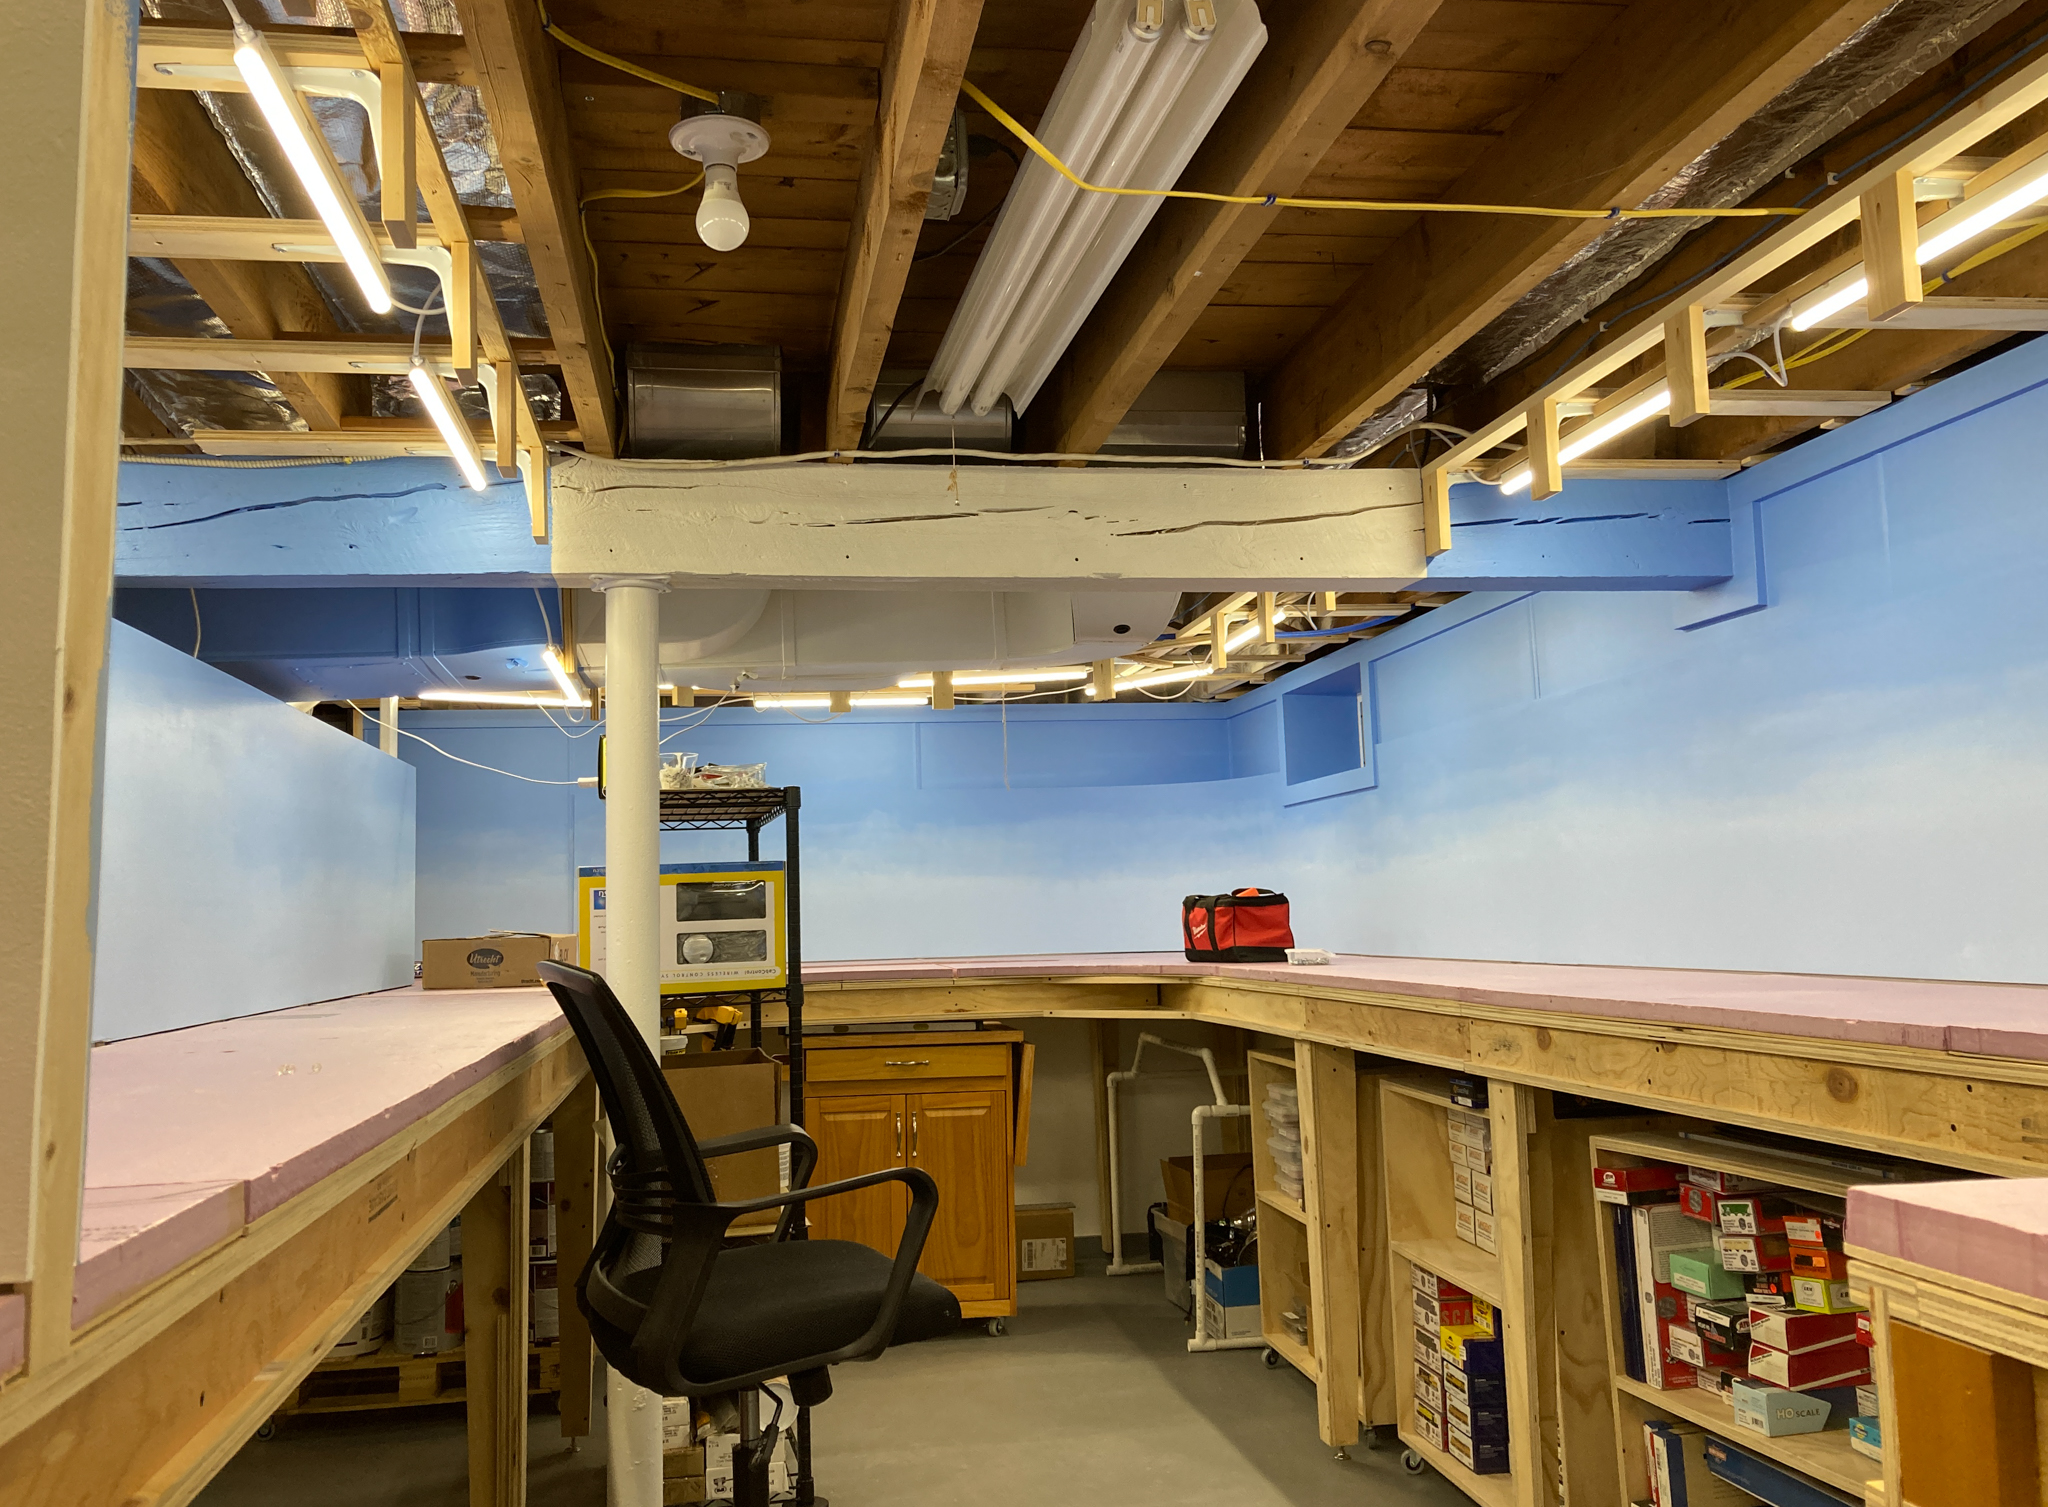
The completed valance over the entrance to the layout. The gray I used matches the trim in the rest of the room. I may need to cut an arch where the entryway is as I do have to remember to duck slightly every time I pass underneath.

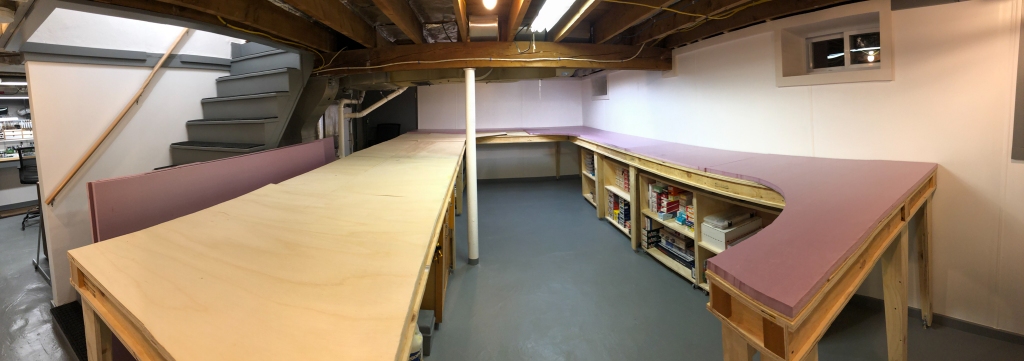
In my last post I’d finished the lighting and installed all the valance supports. With that in place I’m now ready to complete the valance, install most of the fascia around the staging yard and even begin running some of the bus wires. This will mark the completion of everything above the layout, allowing me to move on to the backdrop and eventually get the baseboards permanently attached.

Continue reading “Building a Model Railroad – Part 11: Valance, some fascia and a bit of staging.”

Building a Model Railroad – Part 10: Lighting

The sun is shining and it looks like a great day to head trackside to see what’s moving.

With the backdrop fully installed and the baseboards cut to shape and temporarily in place, I decided to button up the ceiling by installing the layout lighting and valance. I wanted to do this now partly because there is anything to damage on the layout but primarily because the lighting will be essential to painting the backdrop which needs to happen relatively soon.

Continue reading “Building a Model Railroad – Part 10: Lighting”

What’s that you say about a lumber shortage?

As I’ve spent more time analyzing train traffic on BN/BNSF’s Seattle Subdivision it’s become apparent that though the timber industry had lost much of its pre-World War 2 luster by the 1990’s, forestry-related products still made up a very large percentage of loads headed south. Though standard and bulkhead flats could still be found moving this traffic, the center beam was king.

With that in mind, I took a look at my ever increasing roster of completed rolling stock and decided it was high time I added a few of these ubiquitous cars to the mix.

Continue reading “What’s that you say about a lumber shortage?”

Building a Model Railroad – Part 8: The Backdrop.

Having assembled half the baseboards in the last update I decided it would be good to move on to the section of backdrop along the wall. Since the baseboards aren’t yet screwed to the benchwork this made everything a lot more accessible. I didn’t work at it very diligently (because Summer) but I finally got the base layer of paint down about a week ago and decided it was time to share my progress.

Continue reading “Building a Model Railroad – Part 8: The Backdrop.”

Buying a Mini Mill

Way back in my early teens, my interest in model railroading progressed from a casual pastime to a much more serious sort of pursuit. As I read about railroads and their equipment I swiftly came to realize that my models, even the reasonably accurate (for the 90’s) Athearn Blue Box GP50 in BN’s Tiger Stripe scheme (my pride and joy), were not actually that accurate. I noticed all the usual things: the flat metal handrails, the thick inset window glazing, the horrible (or complete lack of) draft gear. However my main hang up was always the frame. It seemed like every model I could afford (brass being so expensive it might as well have existed solely on the moon) had a frame that made absolutely no attempt to simulate what was actually there on a real locomotive.

Though cutting plastic wasn’t exactly easy, it didn’t take long for me to figure out how to modify a locomotive shell. Cutting a pot-metal frame was a different story though. I eventually figured out how to use a rotary tool and file but I was never satisfied with the results or the amount of time and energy it took to achieve them. Having no experience with metal work and not being the sort of kid that took shop class in school (much to my current self’s disappointment) the path forward remained murky for years. At some point though I became aware of a machine called a “Mill” that could quickly and accurately cut metal. After that I learned that a mill could cut more than just metal and that there were much smaller versions of the giant Bridgeport machines I’d seen pictures of. Finally, the clouds parted and I discovered that other model railroaders had these little machines and were doing exactly what I wanted to do with them. That’s when I decided that someday, as soon as I had both money and a place to put one, I would buy a mill, I would learn how to use it and my models would finally live up to my expectations.

Continue reading “Buying a Mini Mill”

Building a Model Railroad – Part 7: Baseboards

The layout as of the end of February 2021

For the last couple of months I’ve been slowly cutting and gluing the baseboards for the layout. I needed to do this now so that I would know for sure where the bottom edge of the backdrop should be. I’m a little over half done but that’s enough to let me start hanging the backdrop, so I figured I’d write this up now before I change tacks.

Continue reading “Building a Model Railroad – Part 7: Baseboards”

Goals for 2021.

This was probably a more appropriate post for last month but I really wanted to get the F7 project off the bench and out of my mind before I started thinking too much about what lies ahead. This year I hope to start on a number of things that I’ve been planning to tackle for a very long time. Most will not be completed by December 31st but as long as I’ve made some progress and have momentum I’ll be pleased. Without further ado, in 2021 I want to:

Continue reading “Goals for 2021.”

Upgrading an old model.

#101 fitted with it’s new front coupler box and desperately in need of a good cleaning.

I don’t think there’s any question that I’m a better modeler today than I was a decade ago. That’s probably true for anyone trying to be their best at something. Our “best” is a constantly moving target that changes with every new skill mastered and bit of knowledge gained. So, with that in mind, I decided that it was time to take a second look at my model of Seattle & North Coast F7A #101, which I began way back in 2007 and didn’t complete until 2014. This model has always had a few annoying issues caused both by inexperience and not having the proper tools and I figured that at this point I was ready to make a second attempt.

Continue reading “Upgrading an old model.”

Building a Model Railroad – Part 6: Benchwork

If you’ve been following along since I began this series on my layout build, it probably appears as though I spent three years dawdling over the basement remodel then magically had the benchwork built and installed over the course of a month while simultaneously caring for a new baby.

Though this benchwork system is pretty quick to build, it didn’t quite happen like that. In fact the components have been complete (but un-assembled) for well over a year now and the main tables were in use as a flat surface to build the basement wall panels on. All I really needed to do was screw the various tables and modules together.

Continue reading “Building a Model Railroad – Part 6: Benchwork”